How to Turn an Old Laptop Display into a Portable Monitor
Every day, perfectly functional laptop displays are tossed aside—yet with a little know-how, you can give them a second life as useful portable monitors. Hobbyist [ScuffedBits] recently demonstrated this by repurposing panels salvaged from outdated laptops. The process involves checking the screen’s technology, sourcing a compatible driver board, and creating a protective case. Below, we answer the most common questions about this eco-friendly and cost-saving DIY project.
- Why should I repurpose an old laptop screen instead of buying a portable monitor?
- Which display technologies make a salvaged panel unsuitable for reuse?
- How can I check the specifications of a salvaged panel?
- What type of driver board do I need, and what inputs should it support?
- What is the hardest part of building a portable monitor from a laptop screen?
- How does the assembly process work, and what options exist for permanent mounting?
Why should I repurpose an old laptop screen instead of buying a portable monitor?
Repurposing a salvaged laptop display is both environmentally friendly and cost-effective. Instead of sending still-functional screens to landfills, you give them a new purpose as a lightweight secondary monitor. The only upfront cost is the driver board and possibly a case, which together often cost less than a retail portable monitor. Moreover, you can customize the look and size to your needs. Hobbyist [ScuffedBits] showcased this by turning panels from old laptops into a fully functional portable display, proving that one person’s e‑waste can become another’s productivity tool. This approach also teaches valuable skills in electronics and 3D printing, making it a rewarding weekend project.
Which display technologies make a salvaged panel unsuitable for reuse?
Two main disqualifying features render a panel impractical for conversion: passive‑matrix TFT panels and screens using CCFL backlighting. Passive‑matrix TFTs produce poor contrast, slow response times, and limited viewing angles—making them frustrating for modern use. CCFL (cold cathode fluorescent lamp) backlights require high‑voltage inverters and have a limited lifespan, plus the lamps themselves contain mercury. [ScuffedBits] encountered one such CCFL‑backlit panel in his video and noted that LED‑backlit panels are far easier to work with. If your salvaged screen uses CCFL, you’ll need a specialized inverter board, which often outweighs the benefits. Stick to panels with LED backlights for a straightforward conversion.
How can I check the specifications of a salvaged panel?
Before committing to a salvage project, look up the model number printed on a sticker on the back of the panel. Websites like panelook.com provide detailed specifications: display technology (TN, IPS, VA), resolution, backlight type (LED vs. CCFL), and interface (LVDS, eDP, etc.). This information tells you whether the panel is worth saving. For example, at least Low‑Voltage Differential Signaling (LVDS) is required, but eDP (Embedded DisplayPort) is ideal. Panels with LED backlight and LVDS or eDP are easily matched with low‑cost driver boards. Checking these details beforehand prevents wasted time and money on a screen that cannot be driven by standard controller boards.
What type of driver board do I need, and what inputs should it support?
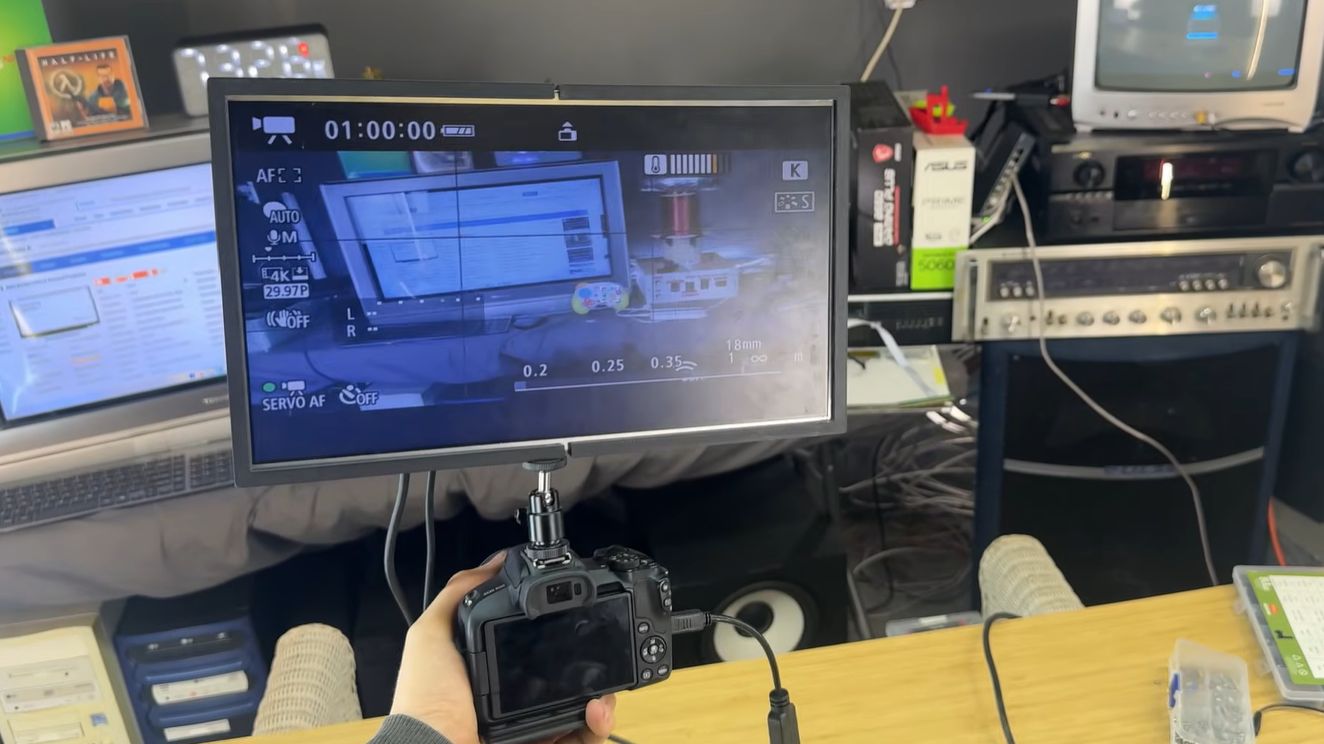
Once you confirm the panel’s interface (LVDS or eDP) and resolution, you can purchase a dedicated driver board from sites like AliExpress or eBay. Look for a board that supports your panel’s specific number of data lines (e.g., single‑ or dual‑channel LVDS) and includes common inputs: at minimum HDMI and power (usually via USB‑C or a barrel jack). Many boards also offer VGA, DVI, or DisplayPort. The driver board will come with a ribbon cable that connects to the panel’s flex cable. [ScuffedBits] used affordable boards that provided HDMI input and a simple power button—perfect for turning a laptop display into a plug‑and‑play portable monitor. Ensure the board’s voltage matches your panel’s backlight requirements (typically 5V or 12V).

What is the hardest part of building a portable monitor from a laptop screen?
The greatest challenge is creating a protective case. Laptop panels are thin and fragile—without proper support, they can crack or flex. [ScuffedBits] found that designing and 3D printing a custom case was the most time‑consuming step. He created two case variants: the first was simple but left edges exposed; the second enclosed most of the panel, offering better protection. The case must be precisely sized to fit the panel’s dimensions and include cutouts for the driver board’s ports. Sliding the panel into the case halves is straightforward, but permanently securing the case without damaging the screen requires careful planning. This step is often left as an exercise for the builder, as adhesive or screw placement can be tricky.
How does the assembly process work, and what options exist for permanent mounting?
Assembly begins by fitting the driver board to the back of the panel (often using standoffs or adhesive) and connecting the LVDS/eDP cable. Then, you position the panel into the first half of the 3D‑printed case, aligning the bezel edges. Finally, you attach the second half of the case to sandwich the display. [ScuffedBits] used a two‑piece design that simply snapped together for testing. For a permanent solution, you can glue the case halves with epoxy or use small screws (if you added threaded inserts). Some builders prefer to leave the case unsealed so they can swap panels later, while others secure everything with double‑sided tape. The key is to avoid putting pressure on the screen’s active area. Once closed, you have a fully functional portable monitor ready to pair with any HDMI source.